
Photo Guide
How to Take Photos for Skin Analysis
Photo quality determines how clearly visible skin patterns can be read. Use even lighting, an unfiltered image, and repeatable positioning for more useful comparisons.
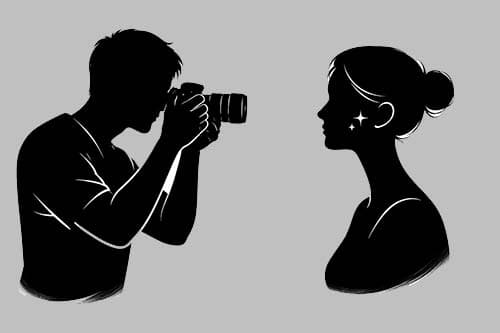
Before taking the photo
- Clean the face and avoid heavy makeup.
- Remove glasses and accessories that cover the face.
- Keep hair away from the forehead and cheeks.
- Turn off beauty mode, filters, portrait blur, and color effects.
- Clean the camera lens.
Lighting and camera position
Use bright, even, front-facing light. Avoid strong side light that creates shadows resembling changes in tone or texture.
Hold the camera level with the face and keep a comfortable distance. Include the full forehead and chin while allowing the face to fill most of the frame.
Front, left, and right photos
Basic uses a front photo. Advanced can use a front photo alone or add left and right profiles for broader coverage.
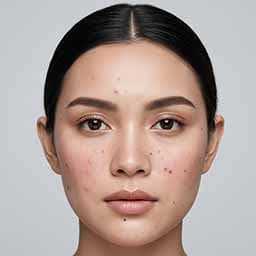
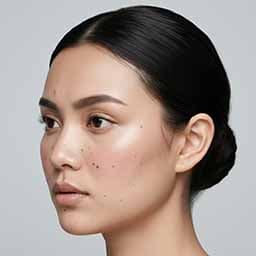
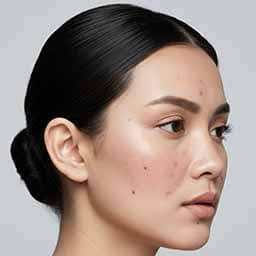
Quality indicators in the Sample Report
Advanced reports may show face ratio, hair occlusion, glasses detection, and yaw, pitch, and roll. These indicators explain whether a photo is suitable or should be retaken.
- The face is large enough in the frame.
- Hair does not cover key facial areas.
- The head is not excessively turned or tilted.
- The image is sharp and free of harsh glare.
For progress tracking
Reuse similar lighting, camera, distance, location, and time of day. Consistency reduces visual differences caused by the environment rather than the skin.
Important note
SkinDX provides visual analysis for cosmetic and educational purposes. Results are not a medical diagnosis and do not replace consultation with a doctor or healthcare professional.
FAQ
Frequently asked questions
Can I use an older selfie?+
Yes, if it is sharp, unfiltered, and follows the guide. A new controlled photo is usually better for a baseline.
Does Advanced require three photos?+
No. A front photo can be used alone, while side photos provide additional area coverage.
Why are no rectangles visible?+
Not every parameter produces rectangles. Wait for the report to finish loading and check the Visualization tab for available layers.
Related guides
SkinDX
Ready to understand your visible skin characteristics?
Follow the photo guide, choose an analysis type, and explore your result in a structured report.
Start Analysis